Converting vertex-colored meshes to textured meshes is a common task in 3D graphics. This process involves baking vertex color data into a texture map, which can then be applied to the mesh for more efficient rendering. Below is a step-by-step guide using Blender.
Step 1: UV Unwrap the Mesh
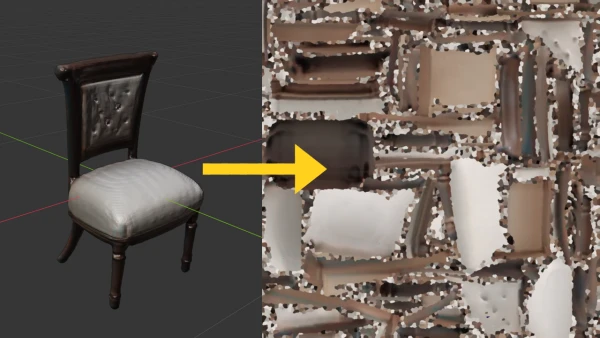
First, ensure your mesh has UV coordinates. In Blender, select the mesh, enter Edit Mode, and press U to unwrap. Choose a method like Smart UV Project.
Step 2: Set Up a New Image Texture
In the Shader Editor, add an Image Texture node. Create a new image with the desired resolution.
Step 3: Bake Vertex Colors
Select the mesh, go to the Render Properties panel, and under Bake, set Bake Mode to 'Diffuse'. Ensure the influence from vertex colors is selected. Click Bake.
Step 4: Save the Baked Texture
After baking, save the image as a PNG or JPEG.
Step 5: Apply the Texture
Replace the vertex color attribute with the new image texture in your material.
This technique is widely used in game development and 3D rendering to optimize performance while preserving color details.